Advice
8 Tips for Stocking and Displaying Your New Product Line in Retail Stores
Eight merchandising tips for brands that do not own the shelf: what you control, what you can only influence, and how placement is really decided.
 Yohan Jacob
15 min read
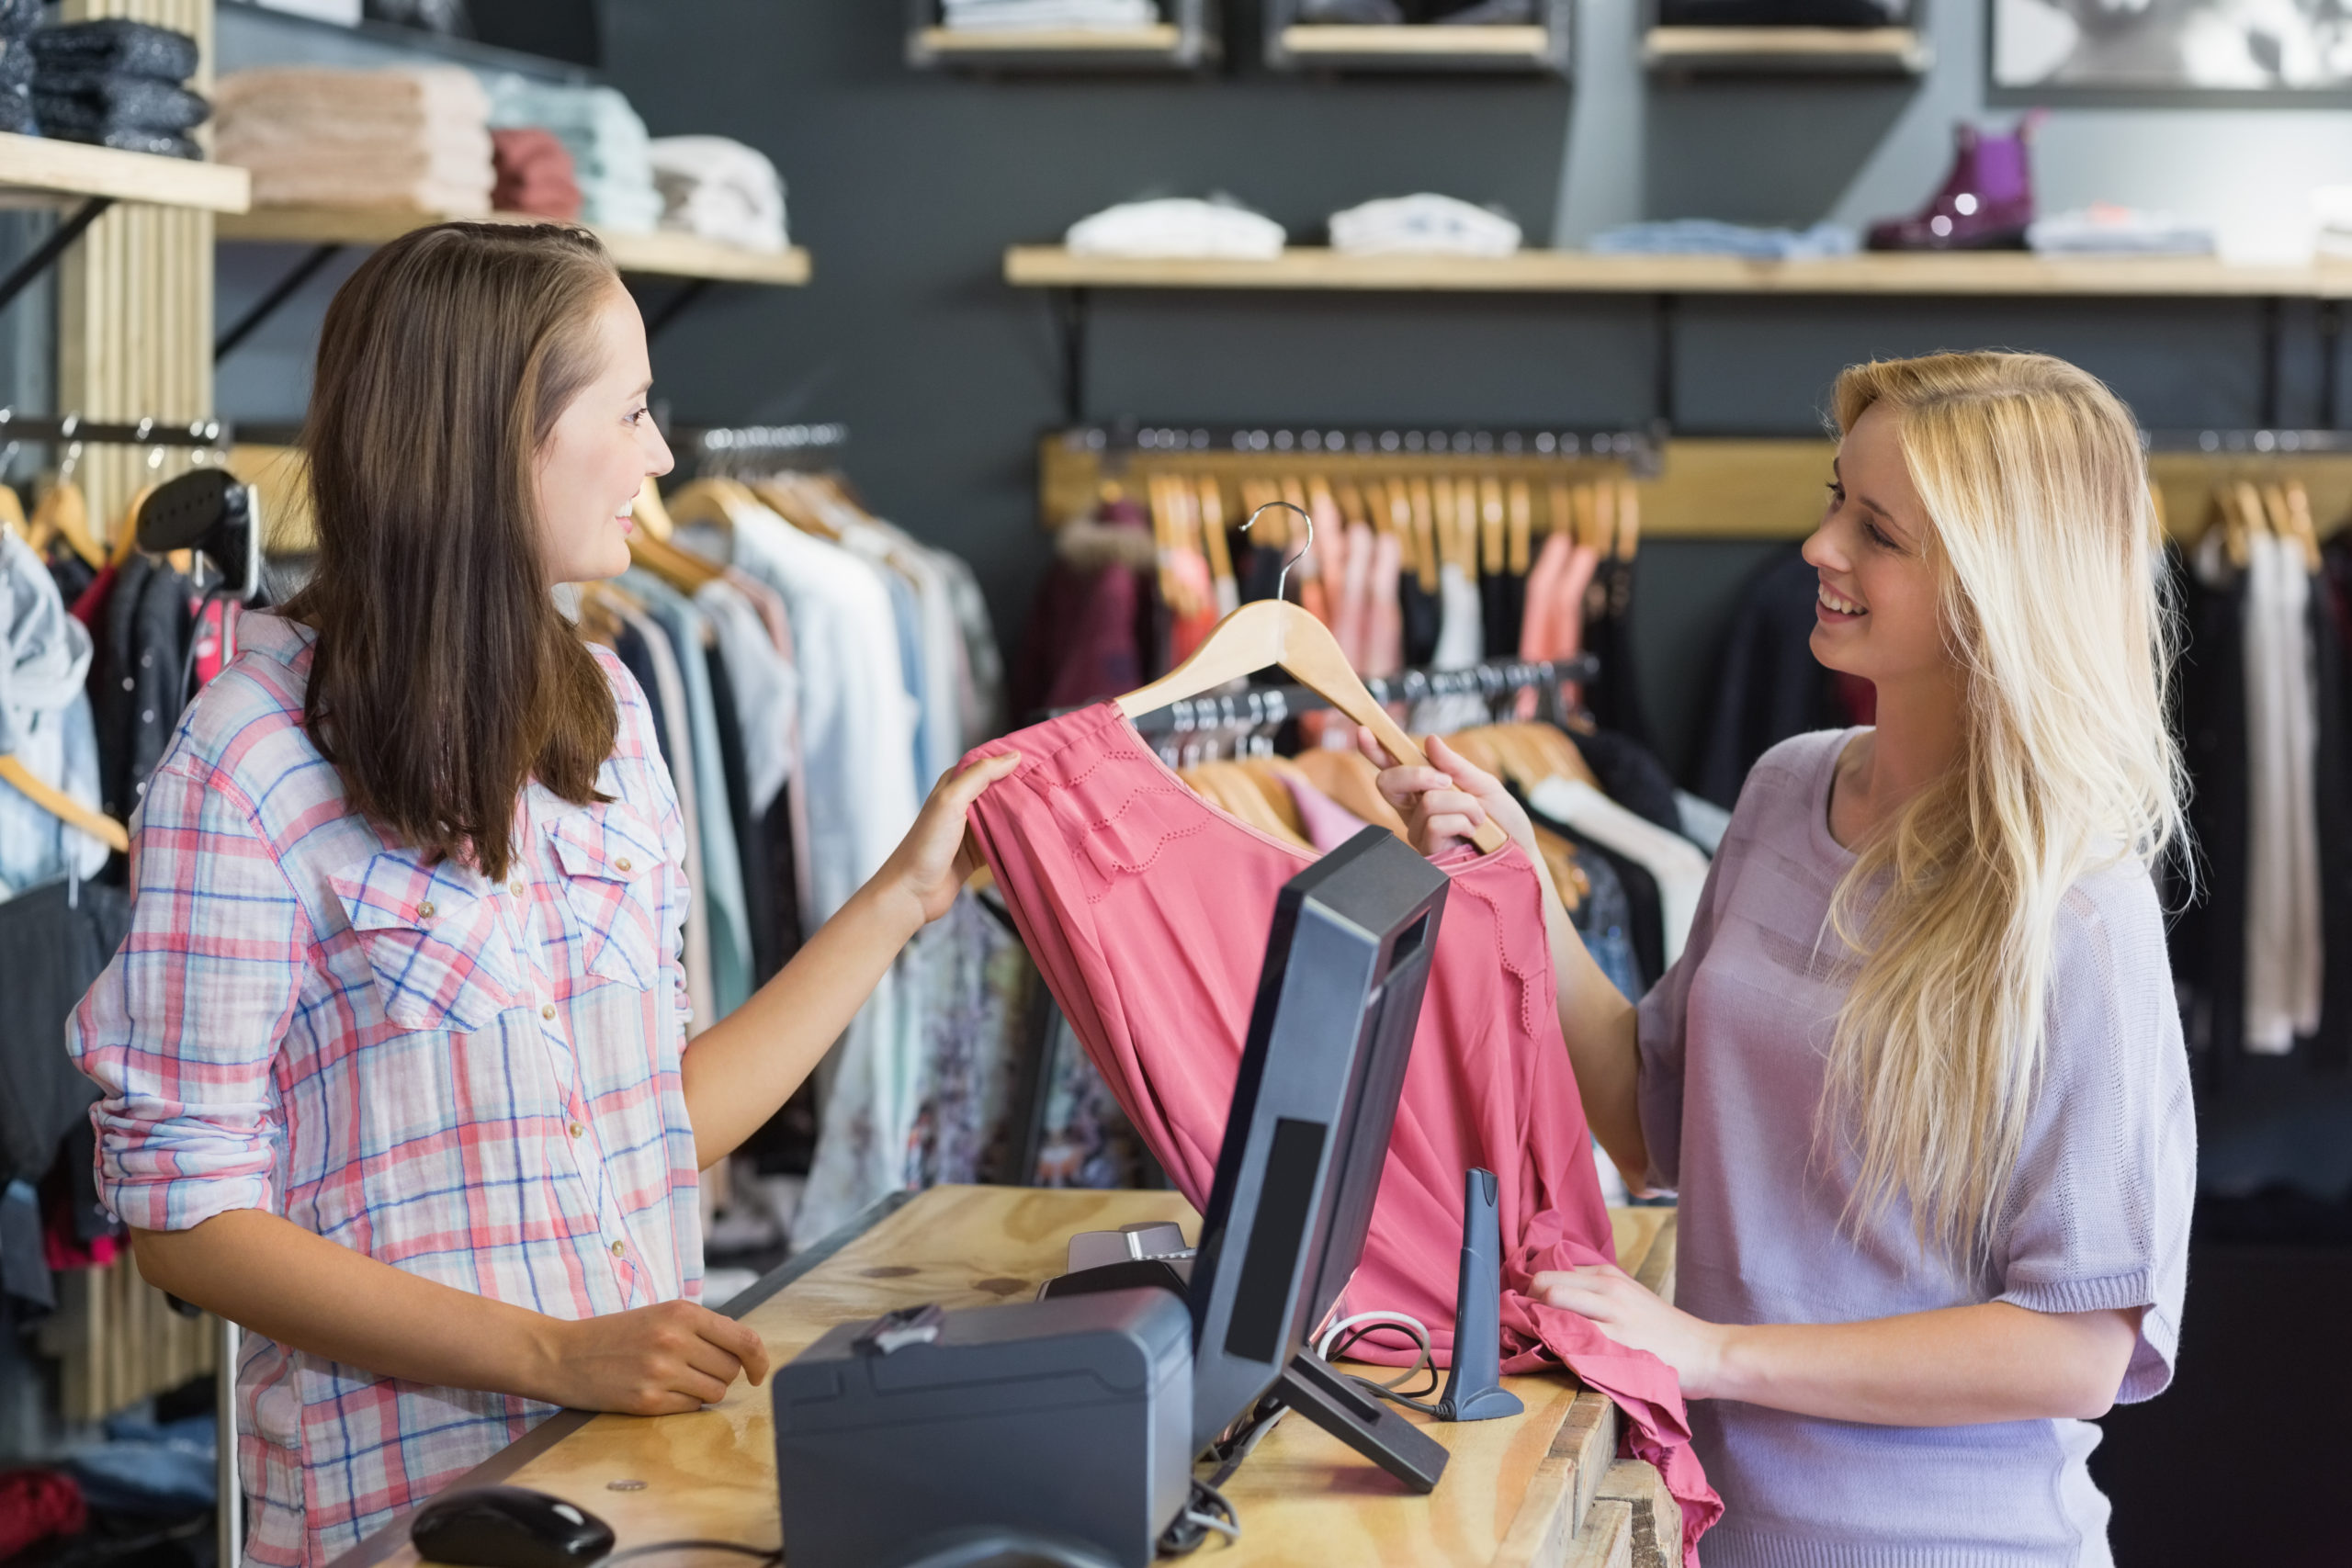
Launching your product in retail stores is exciting. It can also feel overwhelming. After months or years of product development, packaging design and marketing prep, seeing your product on a store shelf is a big milestone. But a good retail debut takes more than getting in the door. Your product needs to be stocked correctly and displayed in a way that stops shoppers. Most retail merchandising tips for brands skip that part, because they are written for people who own the store. Start by planning a strong in-store launch, then use the tips below to keep it selling.
Below are eight tips for stocking and displaying your product line in retail. They help you get seen, meet demand and drive in-store sales.
Key takeaways
- Almost all merchandising advice online is written for store owners. As a brand you do not own the shelf. That changes every tactic on this list.
- In a chain, shelf layout is set by a planogram. It is revisited on a category review cycle, not on request.
- You control packaging, case pack, sell-through evidence and the support you offer. Placement is influenced, not chosen.
- Eye level sells, which is exactly why everyone wants it. You earn it with performance data at a review, not by asking.
- Secondary placement, such as shippers and end caps, is usually paid for or traded. The display unit is normally the vendor’s cost.
- A store visit is the cheapest merchandising tool you have. A product that is out of stock, mis-sited or unpriced loses sales for a reason that costs nothing to fix.
Quick check
Need Help With Your Retail Strategy?
Our team of experienced retail professionals, who were once large retail buyers, can help you find the right retail channels, prepare your brand for buyers and build a strategy for retail growth.
Stocking Your Product: Set the Foundation for a Successful Retail Launch
Having the right inventory in place is the first step to doing well in retail. If your product isn’t on the shelf week after week, it can’t sell. It does not matter how good the packaging or display is.
Note
A distinction worth drawing early: independents and chains work differently here. In a single independent store, the owner often decides placement on the spot. A good relationship and a visit go a long way. In a chain, placement is planned centrally and the store has little say. So the same conversation has to happen with the buyer, on the review calendar, with data.
1. Plan Your Inventory Needs Ahead of Time
Before your launch, work with the retailer to estimate your opening stock. Several things shape that number:
- Store size
- Expected foot traffic
- Sales history of similar products
- Seasonal demand
Planning ahead helps you avoid stock shortages and keeps shelves full during your launch window. Plan your warehouse and shipping at the same time, so you avoid the common 3PL mistakes when entering retail.
2. Monitor Inventory Levels Regularly
After your product hits the shelves, keep a close eye on inventory. Stay ahead of problems by:
- Tracking how quickly stock sells through
- Talking with store teams or distributors
- Using barcode systems or inventory management software
Regular checks prevent stockouts. They also keep your brand looking reliable and professional.
Pro tip
Track sell-through per store per week, not total units shipped. Shipped units tell you what the retailer bought. That number looks good and means nothing after the first order. Sell-through per store per week is the number the buyer uses at the category review to decide whether you stay. Track it yourself from the day you ship, and know it before the buyer quotes it back to you.
3. Rotate Stock to Keep Products Fresh
Whether you sell food, beauty items or consumer goods, rotating stock means customers always buy the freshest product. Encourage retail staff to follow FIFO (first in, first out), so older inventory sells before newer shipments.
Note
Out of stock is a merchandising failure as much as a supply one. A product with no units behind the facing has the best placement in the category and sells nothing. The retailer records that as poor performance, not as a gap. That is why stocking and displaying belong in the same article, and why fill rate belongs in a merchandising conversation.
Displaying Your Product: Boost Visibility and Increase Sales
Good merchandising helps your product catch the shopper’s eye and stand out from competitors.
4. Aim for Eye-Level Placement
Products placed at eye level are more likely to be noticed and bought. Whenever possible, negotiate with retailers for premium shelf placement, especially during your initial launch.
How Placement is Actually Decided
Shelf layout in a chain is not decided in the store. It is set by a planogram. That is a layout that says which products sit where in a given section, how many facings each one gets and which shelf they sit on. It is produced centrally and applies across stores of a given format. Store teams execute it. They do not design it.
Planograms are rebuilt on a category review cycle. That is when new items go in, underperformers come out and the space for each product is reset. Between reviews, the layout is fixed. A buyer who likes your product in the middle of a cycle often cannot move you. Asking again and again costs you goodwill for nothing.
Here is who holds which decision.
The category buyer and the space planning team decide the assortment and the planogram. They work from category performance data: what each item sells per unit of space, what the category needs to grow, and what the retailer’s own private label strategy requires. This is where placement is won and lost.
The store team executes the planogram. They build the section, set the facings and, in theory, keep it that way. In practice, execution varies a lot from store to store. That is the opening most brands overlook.
Your rep or field team can report when what is in the store does not match the planogram. That is not lobbying. It is useful information the buyer usually does not have. It is welcome when it comes with photographs and store numbers rather than complaints.
So what do you actually do?
Before a review: bring evidence. Show your rate of sale against the items around you, what your product adds that the current assortment does not, and which existing item your growth would come from. A placement argument without numbers is an opinion, and buyers hear a lot of those. The same rules apply as when you are pitching a retail buyer for the first time.
Between reviews: check execution. A product that is mis-sited, has fewer facings than the planogram says, or is sitting in a back room is losing sales for a reason that costs nothing to fix. This is the single most available win a brand has in a store it does not control.
Review cycles vary by retailer and by category. Some categories are reviewed far more often than others. Do not assume. Ask your buyer when their category is reviewed and what they will be looking at when it happens. It is a normal question, and the answer shapes your entire year.
Pro tip
Ask the buyer what the category review cycle is and what performance would justify a placement change. Then work to that number instead of arguing at the wrong moment. Placement requests made between reviews are usually declined, because the planogram is already rolled out to every store. The same request, made with sell-through data at the review, is a decision the buyer can actually take.
What a Brand Controls, Influences, and Does Not Control In-Store
| You control it. | You influence it. | The retailer decides. | |
| Packaging and shelf-ready case design. | Yes. | ||
| Case pack and replenishment quantity. | Yes. | ||
| Sell-through data you bring to a review. | Yes. | ||
| Merchandising support you offer. | Yes. | ||
| Shelf position and eye level. | With performance data at a review. | Yes. | |
| Number of facings. | With performance data at a review. | Yes. | |
| In-store signage. | Within their vendor guidelines. | Yes. | |
| Secondary placement and displays. | By proposing and often paying. | Yes. | |
| Shelf tidiness and facing. | Through visits and field merchandising. | Yes. |
5. Invest in Attractive, Shelf-Ready Packaging
Your packaging is often the first impression customers get. Make sure it:
- Stands out on crowded shelves
- Clearly communicates benefits
- Matches your brand identity
- Is easy for shoppers to understand at a glance
Great packaging stops more shoppers and converts more of them.
Pro tip
Design the case as carefully as the product box. Shelf-ready packaging means the case opens and goes straight onto the shelf as a tray or display. That cuts the time a store associate spends restocking you. An associate with a full cart and little time restocks the easiest product first. That is a merchandising advantage you buy once at the packaging stage and get for free every week afterwards.
6. Create Dedicated Displays to Highlight Your Product
If your budget allows, consider:
- Floor displays
- Counter displays
- Endcap placements
- Clip strips or power wings
Dedicated displays help you rise above competing brands and drive impulse buys.
Display Programs, Shippers and Secondary Placement
Secondary placement means your product appears somewhere other than its home on the shelf. It works because it interrupts a shopper who was not walking down your aisle. Here are the forms it takes.
Shippers and pre-packed displays. A corrugated unit that arrives packed with product and goes on the floor as is. The store opens a box and has a display. This is the most achievable form of secondary placement for a smaller brand, because it costs the store almost no labor.
Pallet displays. Full pallets of product, usually for volume promotions in large-format stores. They work, but only if you can supply at that quantity and your margin survives the promotional price that usually comes with it.
Clip strips and sidekicks. Narrow fixtures that hang from a shelf edge or attach to the end of a gondola. They borrow space from a nearby category. Cheap, high impact for small items, and a good way to reach a shopper who buys the complementary product.
End caps. The display at the end of an aisle. This is the most valuable secondary space in the store and the hardest to get. Everything in the category competes for it, and the retailer measures what each end cap earns per week.
What the retailer is weighing is simple, and it is not about your product. Floor space has an expected return. Your display has to beat whatever else could occupy that space during that period, including the retailer’s own promotions and its private label. That is the argument you have to make, with numbers.
Now the commercial reality, which no display article mentions. Secondary placement is very often paid for or traded. That can be promotional funding, a display allowance, a promotional price or a commitment in your annual terms. The display unit itself is almost always the vendor’s cost, designed and made by you. And the retailer will have specifications the unit must meet: dimensions, weight, structural requirements, pallet compatibility, graphics standards and sometimes fire ratings.
What this costs depends on the retailer, the category, the period, the number of stores and whether you supply the unit pre-packed. Ask two questions before you design anything. What is the retailer’s display specification? What would the commercial arrangement for the placement be? Designing a unit before you know either is the most common and most expensive mistake in this part of the job.
7. Use Clear and Compelling Signage
Signage helps customers quickly see what your product does and why they should buy it. Good in-store signage should:
- Be simple and clean
- Highlight key benefits
- Address the shopper’s problem
- Match your brand colors and tone
Great signage supports your packaging and strengthens your brand message.
Pro tip
Check what the retailer permits before you produce any in-store signage. Most chains have rules on vendor-supplied signage. They cover size, placement, adhesive and who may install it. Material that breaks them is removed by the store, usually on the first day, after you have paid for it. Ask for the vendor merchandising guidelines by name, the same way you would ask for the routing guide.
8. Keep Your Shelf Space Neat and Organized
In retail, presentation matters. Make sure your products are:
- Front-faced
- Clean
- Properly aligned
- Easy to reach
A tidy shelf helps shoppers find your product quickly. It also shows your brand is professional.
What to Check When You Visit the Store
You cannot tidy a shelf from your office, but you can find out what is wrong with it. A store visit is how a brand influences something it does not control. If you are in too many doors to visit yourself, use a paid field merchandising program or a manufacturer sales representative who covers those stores. Here is what to check, in order.
1. Is the product in the store at all? Not on the shelf, in the building. If it is not, find out whether it was delivered and where it is now.
2. Is it on the shelf? A product in the back room sells nothing. Ask an associate to check the stockroom if the facing is empty.
3. Is it in the location the planogram specifies? Right aisle, right section, right shelf height. Compare against the planogram if you have it.
4. Does it have the number of facings agreed? Count them. Fewer facings than specified is common, and it directly reduces your rate of sale.
5. Is the price ticket present and correct? A missing or wrong shelf tag is one of the most common and most damaging errors in a launch. It is invisible in your sales data until the numbers come back low.
6. Is there stock behind the facing? A single unit fronted up looks fine in a photograph and is out of stock by lunchtime.
7. Is anything damaged, dusty, opened or faded? Damaged stock does not sell, and it does not get removed unless somebody notices.
8. Is any signage, shelf talker or display still in place and intact? If you paid for point of sale material, this is where you find out whether it was ever set.
9. What is sitting next to you, and at what price? Free competitive intelligence you cannot get any other way.
Then do something with it. Photograph everything that is wrong, with the store number and the date. Report it to your buyer or your rep as a summary, not a list of grievances. And keep the records across visits, because that is what turns observations into a case the buyer has to answer. A single store with a problem is a complaint about one store. The same problem in seven stores out of ten is a conversation with the buyer about execution. Buyers act on that, because their category numbers are suffering too.
You Do Not own the Shelf, so Here is What You Can Actually Control
Almost every merchandising article you will find is written for someone who owns the store. You do not. In a chain retailer, the planogram is set centrally and the store team faces the shelf. Anything you want to put up inside the store follows the retailer’s own rules about signage, fixtures and floor space. Advice that starts with “arrange your shelf so that” is not advice you can act on. That gap between the advice and the reality is a big part of why online-only brands struggle on the shelf.
So separate the two lists before you spend any effort.
What you control outright:
- Your packaging, and how it performs at arm’s length on a crowded shelf.
- Your case pack, inner pack and shipper design, which decide how easy your product is to put out.
- The sell-through data and category argument you bring to a review.
- The merchandising support you offer, including display units, fixtures and funding.
- Your own store visits and any field merchandising program you pay for.
- What you ship, when, and whether it arrives complete.
What you can only influence:
- Shelf position and height.
- The number of facings you get.
- Whether a display is accepted and where it is sited.
- In-store signage, which the retailer governs.
- Whether the store team faces your product or leaves it in the back.
The practical conclusion follows from that split. Effort spent lobbying for eye-level placement outside a category review is wasted. The person you are asking cannot change it, and the system that can is on a schedule. Spend the same effort on packaging that stops a shopper, a case pack an associate can put out in one pass, and sell-through numbers that beat the item next to you. That is what wins placement when the review comes round. Work on what you own, and the things you can only influence start moving on their own.
Final Thoughts: Strong Merchandising Leads to Strong Retail Sales
A successful retail launch takes more than getting your product into stores. It means keeping shelves stocked, making your product easy to find, and building a display that drives conversion.
Plan ahead, work closely with your retail partners, and keep improving your in-store presentation. That is how you boost visibility, strengthen your brand and build long-term retail success. And keep an eye on where retail launches are heading, because the tactics that win placement keep changing.
Free consultation
Talk to a retail expert about your product.
We build the retailer list, the pricing model, and the buyer pitch, so your first meeting starts from your numbers instead of theirs.
Retainer only, no commission · 150+ retailers · No obligation
Frequently asked questions
One that a shopper understands without stopping to read, and that a store associate can restock without effort. The product is identifiable from several feet away. The price is visible. The display holds enough stock to last between service visits, and it is built to the retailer’s size and safety specification. A display that is beautiful and empty by Tuesday is a failed display.
For a brand rather than a store owner, the effective ones are the ones inside your control. Design packaging that identifies itself from a distance. Use shelf-ready cases so restocking you is easy. Track sell-through per store so you can argue for placement with evidence. Visit stores to catch out-of-stocks and misplacement early. Everything else is a request to the retailer, and requests are granted on data.
A planogram is the shelf layout a retailer produces centrally and sends to its stores. It says which products sit where and how many facings each one gets. It is the reason a store manager usually cannot move your product for you. It is revised on the category review cycle, which is when placement decisions are genuinely available.
By performing well enough that better placement is in the retailer’s interest, and by asking at the right moment. Bring sell-through per store against the products around you. Ask the buyer what the category review cycle is. Make the request with data at the review, not between reviews when the planogram is already rolled out everywhere.
In a chain, the category buyer and the space planning team, through the planogram. The store executes it and usually has little say. In an independent store, the owner often decides directly. That is why the same product can be argued onto a better shelf in an independent and cannot be in a chain.
Often, in one form or another. Secondary placement may be bought outright, traded against promotional terms, or earned through performance. The display unit itself is normally the vendor’s cost. What it takes varies by retailer and category, so ask the buyer what the retailer requires before you design or produce anything.