Advice
8 Steps on How to Turn an Invention Idea into a Product
The eight steps from a documented idea to a product on sale, where the money goes, and whether to license it or build a business around it.
 Yohan Jacob
17 min read

A great idea can change an industry if you let it. But it’s on you, the inventor, to take action steps. Here is how to turn an invention idea into a product in eight steps.
The steps run from the first clear description of your idea to the point where somebody else is selling it. The early ones cost you time and honesty more than money. The expensive decisions come in the middle, at prototyping, patent work and tooling. Once made, they are hard to undo. The last step is the choice to license the invention or build a business around it. That choice decides what everything before it was for. So it pays to know which way you lean long before you get there.
Key takeaways
- An idea is not protectable on its own. What you can protect is a specific, documented version of it.
- Document everything from the start. Dated records of what you made and when cost nothing and matter later.
- Research the market before you spend on protection. Knowing somebody will buy it is worth more right now than knowing nobody else made it.
- A prototype tested only by people who like you has not been tested.
- Costs jump at tooling. Spending in the wrong order ends more invention projects than a shortage of money does.
- Licensing trades control and upside for speed and low risk. Building a business is the reverse. That choice, not the invention, decides what your life looks like afterwards.
Quick check
Is Your Product Ready for Retail?
Not sure if your product, pricing, packaging and sales strategy are ready for major retailers? Let’s talk about where you are today and what it will take to get your brand retail-ready.
1. Conceptualize Your Invention and Prepare Yourself
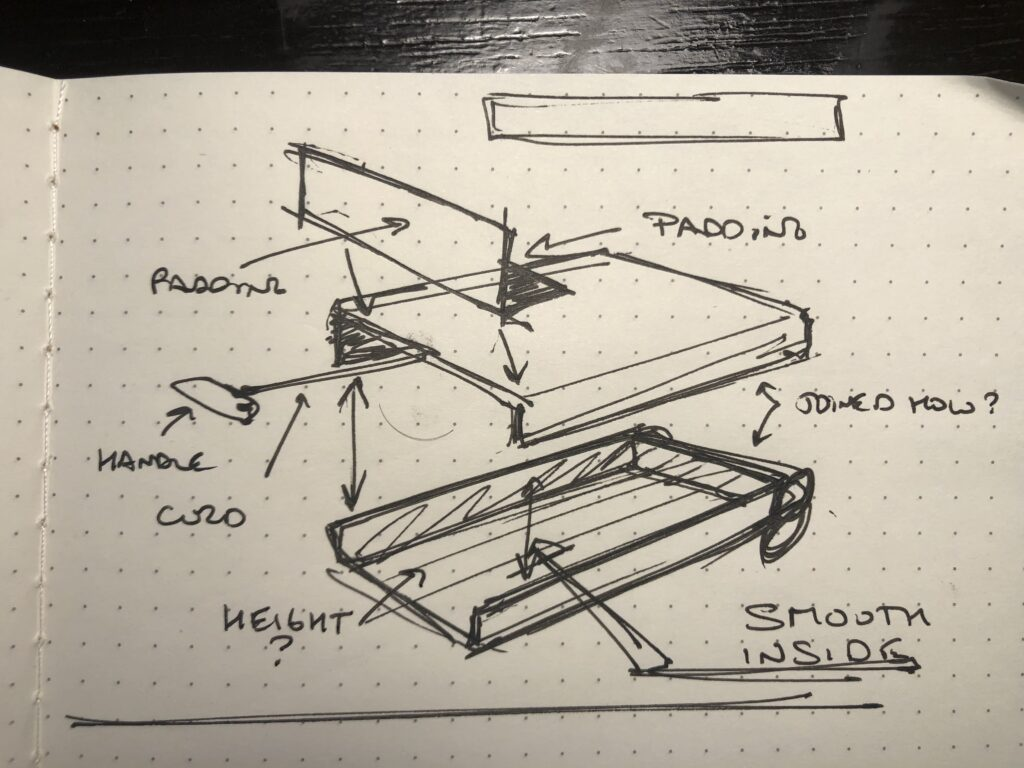
The first step in how to make your invention real is to conceptualize it. Early on, a clear idea and concept is key. You must know where you want to go with your idea. And you need to see it so clearly that you can explain it with ease.
If you have an invention idea, be prepared. Ask yourself these questions:
- Have I done enough research on my customer?
- Is my idea good enough to make it in a crowded market?
- Are there similar products on the market that already meet the customer’s needs?
- Is my product idea clear enough, or do I need help to clarify my vision?
Once you can answer these questions clearly, you can move on to the next step in getting your invention made.
2. Document Your Idea
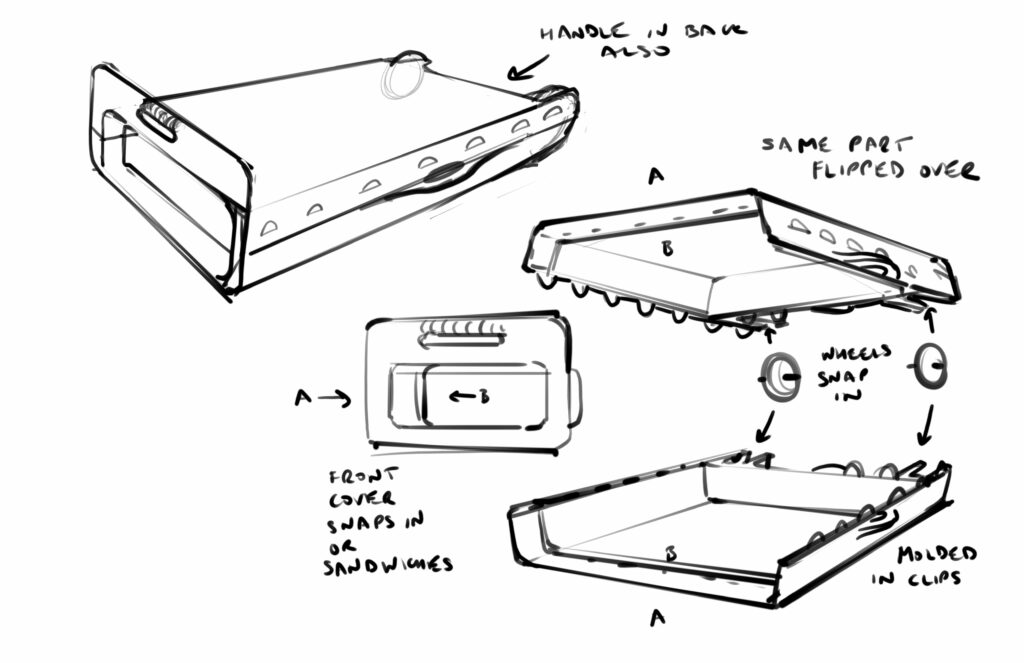
So you have a clear picture of your idea and you’ve done your research. That research helped you sharpen the idea and home in on your customer. The idea is sound and there’s a market for it.
Now, your next move is to document your idea.
Here are the key steps to take when you document your idea:
- Write down your invention idea in an inventor’s journal. That is a bound notebook with numbered pages that cannot be removed or put back.
- Include details about your invention’s concept, design and marketability.
- Date and time each entry, and have a witness sign it.
- Take pictures of your invention and watermark them with the date.
Taking these steps will protect you in the long run, when someone comes forward and claims the idea.
3. Perform Product & Market Research
So you’ve documented your idea and you want to move forward. The next step is product and market research. Many ideas never make money because the inventor skipped this step.
Product research shows you whether your idea already exists. Take these steps:
- Search art databases to make sure your drawings and ideas don’t already exist in art form.
- Search the national patent office to see if your idea and renderings are already there.
- Search for similar items on the market, and look for gaps you could fill.
Market research shows you whether a product on the market already solves your customer’s pain points. Here are some steps to take:
- Host casual focus groups with prospective customers.
- Create online surveys that uncover customer pain points.
- Gather all your feedback and use it to decide whether your invention idea is sound.
Pro tip
Search for your invention as a shopper before you search for it as an inventor. Look for it on retail sites, on marketplaces and on the shelf in its category. Use the words a customer would use, not the technical description in your head. Inventors often search patent databases first and retail second. That tells you whether the idea is new, not whether anyone wants it. The second question decides whether the next seven steps are worth taking.
4. Design your Product
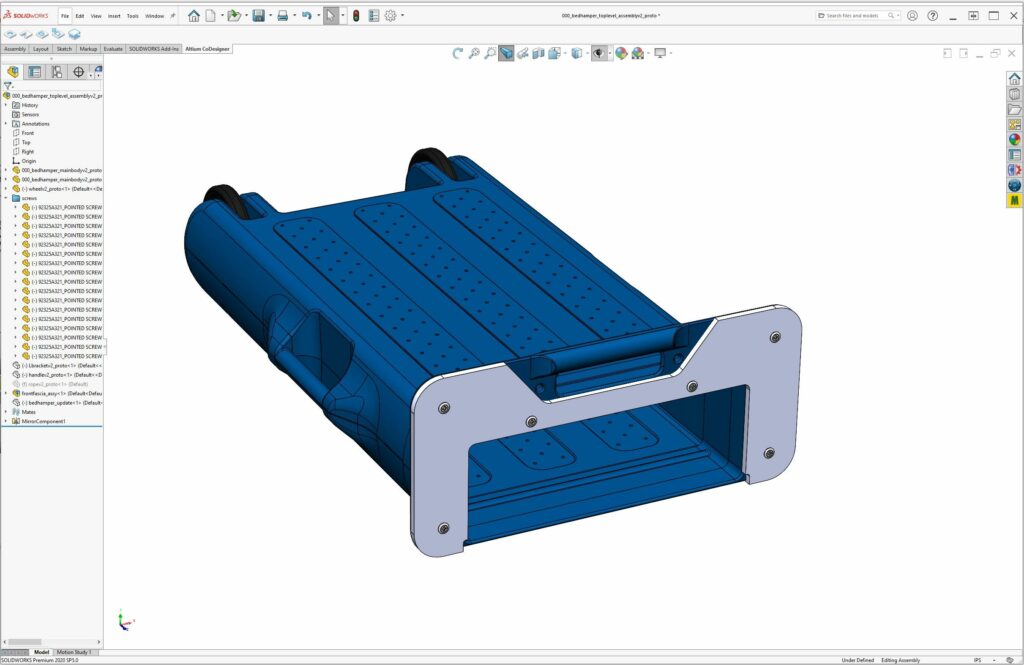
Now that you’ve done your research, the next step is to design your product. There are key principles inventors need to use when designing products. They are:
- Brainstorming: How do you want to show your idea visually? Think about how it will look on paper or on a tablet. In design, brainstorming means defining the problem. It also means coming up with a lot of ideas. Try to answer as many problems as you can. At this point, critical eyes are not welcome.
- Outlining expectations: A sense of direction matters at this stage. It might be a loose list of tasks for the coming weeks. It might be a list of industrial design firms to call for help with prototyping. Whatever it is, having expectations keeps you on track.
- Sketching it out: Sketches are a great way to start honing your design vision. They don’t have to be perfect. In fact, it’s better if they’re rough. But they do have to show how you imagine your product.
Pro tip
Design the packaging at the same time as the product if retail is the goal. Retail packaging sets your case pack, your shipping cost and how much shelf space you take up. It also decides whether a shopper understands the product in two seconds. Design the product first and you will have to retrofit all four. Packaging changes after tooling are among the most avoidable costly mistakes an inventor makes.
5. Manufacture a Prototype
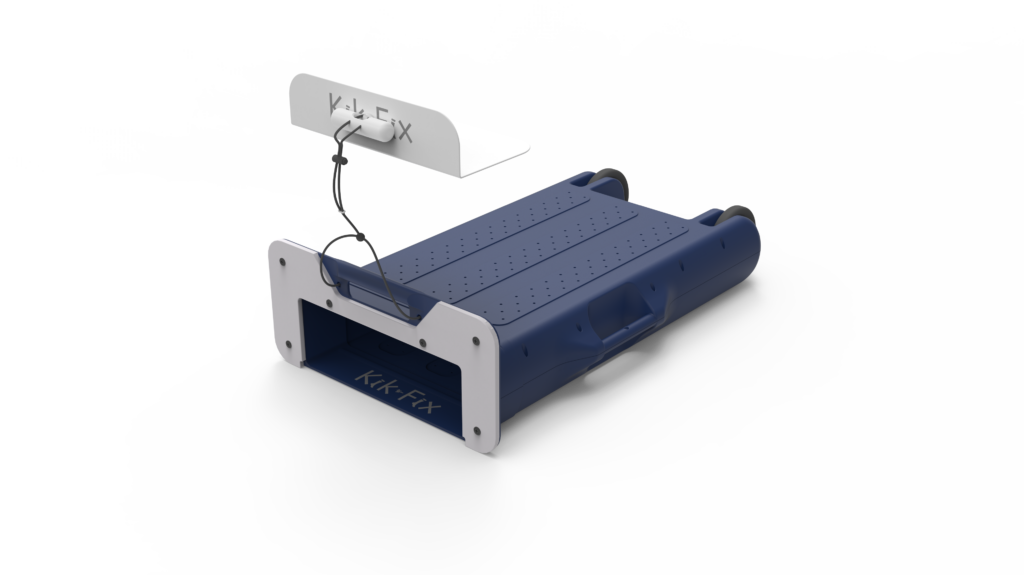
Designing your product was a big step. But a prototype matters just as much. Without one, it’s almost impossible to bring your invention to life. Here are the steps to making a prototype:
- Draw a concept sketch of what your prototype will look like and how it will work.
- Create a 3D digital model of your idea.
- Build a physical model of your invention.
- Find a manufacturer to help you build and test your prototype on a larger scale.
What this Stage Costs and Where Inventors Overspend
Every one of these eight steps costs something. The steps above read as though effort is the only limit. It is not. Running out of money ends most invention projects. So does spending it in the wrong order. It usually happens to people who had enough money to succeed and spent it on the wrong stage first.
Money leaves in roughly this order. Research is mostly your own time, plus small sums for database searches and for talking to people who are not your friends. Design costs rise as soon as you hire a professional, whether an industrial designer, a CAD modeler or an engineer. Prototyping is the first stage where each revision has a real price. There will be revisions. Patent work means professional fees plus official fees. It scales with how many countries you want and how complex the invention is. Tooling is where the curve turns sharply upward. A mold or a die is one large payment made before anything exists, and it is tied to a design you have now frozen. A first production run then ties up the rest. You pay for inventory months before anybody pays you for it.
Three traps cause most of the damage. The first is paying for patent work before you know whether anybody wants the product. A patent on an invention nobody will buy protects nothing worth protecting. That money would have bought you the market evidence that told you so. The second is tooling before strangers have tested the prototype. Friends and family approve of everything. A design frozen on their feedback becomes a mold you cannot change. The third is invention promotion services. They charge a fee to develop, evaluate or submit your idea to companies. Some are legitimate and some are not. The fees are often large and paid up front. The result is often a submission list rather than a deal. Research any such firm before you pay. Ask for proven outcomes for inventors like you. Be wary of anyone whose enthusiasm arrives before their assessment.
The distinction that keeps you solvent is between a fixed cost and a cost that depends. Official filing fees are published and knowable. Design, prototyping and tooling all depend on your product: its complexity, materials, number of parts, tolerances and how many rounds of change you cause. So the biggest lever on your total spend is not negotiation. It is getting the sequence right. Make every large payment after the thing it depends on has been proven, not before.
Pro tip
Put the prototype in the hands of ten people who have no reason to be kind to you. Watch without explaining it. If they cannot work out what it does or how to use it without you talking, that is the finding. It is far cheaper to learn now than after tooling. Friends and family will tell you it is great. That is information about them, not about your product.
6. Apply For A Provisional Patent
So you’ve got the makings of a product on your hands. Congratulations! The next step is to make sure it stays yours. A provisional patent application gives an inventor a real benefit. You can file it without a formal patent claim, declaration, oath or disclosure agreement. A provisional application gives you 12 months from the day you file. To benefit from that early filing date, you must also file a nonprovisional patent application within that period.
Note
Patent procedure is the one part of this process where a rough understanding is risky. The rules on timing, and on what a provisional application does and does not give you, are specific. Treat this section as an orientation to the stage, not as guidance on the rules. Take advice from a registered patent attorney or agent before you rely on anything here.
7. Find a Manufacturer (Optional if Licensing)
The next step in making your invention real is to find a manufacturer. But before you do, there are some details to iron out, starting with choosing a distribution model.
- What type of manufacturer are you looking for? There are three major types. They are:
- Manufacturers who make products based on your product ideas.
- Suppliers (also called manufacturers), wholesalers or distributors who buy existing brands and products.
- Dropshipping companies that supply products and fulfill orders for brands and products that already exist.
2. Do you want a domestic or international manufacturer?
- Domestic manufacturers suit inventors who care about the environment and want a closer eye on quality control.
- International manufacturers may be your best bet if long-term global reach matters more to you.
3. What do you want to offer as an inventor?
- Are you open to custom orders? If so, your manufacturer must offer that.
- What’s your desired lead time (the time between order placement and shipping)?
- What are you willing to spend on shipping?
- What’s your ideal cost per unit?
- What’s the defect policy of each manufacturer you’re considering?
- What are factory conditions like? Are they sustainable and ethical?
4. Order quantities and payment
- How many units do you want made at first? Suppliers require a minimum commitment, so make sure you can agree to that number.
- Many manufacturers require payment up front before they begin production. So weigh your budget and preference, see if you can negotiate, and decide from there.
Pro tip
Ask a prospective manufacturer what they have made that is closest to your product. Then ask for the tooling cost and the per-unit cost at three different volumes. The gap between those volumes tells you what your business needs to look like to work. You need that before you choose the manufacturer, not after. A quote at one volume tells you almost nothing.
8. Sell/License Your Product
For inventors and small manufacturers, selling or licensing your product is often your best bet. Licensing lets you sell your product idea to a manufacturing company. In return, you earn a share of each sale.
Selling or licensing your product has some benefits:
- You avoid product development challenges and risks, such as a lack of experience or money to produce items.
- You open the door to extra income.
There are some drawbacks to consider too:
- Once you sell the idea to a company, it belongs to them. If they create a new and improved version of your invention, you probably won’t see royalties from that.
- An inventor is not likely to get wealthy selling ideas to bigger companies. If wealth is your aim, reconsider your options.
If you would rather sell the product yourself, you have two routes. You can sell online first and work on moving from e-commerce into physical retail later. Or you can go to retailers from the start. See our guide on how to get your product into Ace Hardware for an example.
Note
Be careful with any service that offers to promote your invention to companies for a fee. This is a well-known area for high-cost, low-outcome offers, and an inventor at this stage is an obvious target. Research anyone you are considering. Ask for outcomes, not testimonials. Be wary of enthusiasm that arrives before anyone has assessed the product.
License it or Build a Business Around it
This decision shapes everything else about your life as an inventor, and it deserves more than a paragraph. There are two honest routes. You license the invention to a company that already makes, sells and supports products like it, and you take a royalty on what they sell. Or you build a business around it. Then you own the manufacturing, the selling, the support and the risk, and you keep what is left after all of it.
| License it | Build a business | |
| Who manufactures. | The licensee. | You. |
| Capital you need. | Little beyond development and protection. | Tooling, inventory and working capital. |
| Who sells it. | The licensee. | You, directly or through retail. |
| Your income. | A royalty on their sales. | The margin on your own sales. |
| Control of the product. | Largely theirs. | Yours. |
| Risk if it fails. | Limited. | Yours. |
| Best fit for. | One product, and no wish to run a company. | A range, and the appetite to operate. |
The choice turns on three questions, and none of them is about the product. The first is whether you want to run a company. Building a business is not inventing. It is purchasing, forecasting, hiring, collections and customer service. An inventor who loves inventing and hates the rest will be unhappy and probably unsuccessful. The second is what capital you can really access, not what you hope to raise. A business route that runs out of money at tooling is worse than a license. The third is whether this is one product or the first of a range. A single item with a narrow use is a natural license. A product that implies a family of related products is the foundation of a brand. Licensing it gives away the whole range, not just the first item.
One practical note cuts across both routes. Licensing talks go much better when the product has already sold to real customers. Sell-through evidence answers the question the licensee cannot answer on their own. That is an argument for a small commercial launch first, even when licensing is the plan. It also means the two routes are not as exclusive as they look. Selling it yourself for a while is often the fastest way to make somebody else want to license it.
What it Takes to Sell your Product into Retail
Selling into retail asks for a set of things a prototype does not have. A buyer will ask for most of them before they will discuss an order. A working sample is the start of the conversation, not the end of it. It also helps to know the basics of pitching a retail buyer before you walk in.
- A GTIN and a barcode. You get these from the global standards body. Assign one to each sellable item and variant, and print it on the pack so it scans reliably at a register.
- Retail-ready packaging. A pack that sells the product with nothing beside it, protects it in transit and on the shelf, and meets the retailer’s own packaging spec. Packaging is a big part of why online-only brands struggle on the shelf.
- A case pack configuration. How many units are in a case, whether inner packs are required, and how the case is labeled and palletized.
- A wholesale price that survives the terms. A price that still leaves you a margin after the retailer’s markup, payment terms, freight allowances, returns and promotional expectations.
- A lead time you can actually hold. The number of weeks from purchase order to delivery that you can meet on a bad week, not a good one.
- Product liability insurance. Almost always a condition of doing business, at a coverage level the retailer sets, naming them where required.
- Evidence the product sells. Sales from your own site, a marketplace, a crowdfunding campaign or independent stores. Buyers fund demand. They do not create it.
Once a buyer says yes, the work shifts to planning a strong in-store launch.
The sequencing point is the one worth carrying back to the earlier steps. Several of these are cheap to design in and costly to retrofit. Barcode placement, pack size, case configuration and the shelf footprint all sit in the product’s geometry. Geometry is fixed by tooling. A product designed with a shelf in mind gets a pack that fits the shelf and a case that fits the store’s rate of sale. A product designed without that knowledge gets a pack that has to be redesigned after the tool exists. That means a second tool. The same goes for unit cost. Set it without reference to retail margin and you get a wholesale price that cannot work. The only fixes at that point are raising the retail price past what the category bears, or reopening your manufacturing. An inventor who knows at the design stage that step eight ends in retail builds a different product from one who finds out afterward.
Free consultation
Talk to a retail expert about your product.
We build the retailer list, the pricing model, and the buyer pitch, so your first meeting starts from your numbers instead of theirs.
Retainer only, no commission · 150+ retailers · No obligation
Frequently asked questions
Not the idea itself. Protection attaches to a specific expression or version of it. That is why documenting a concrete version of your invention matters, and why a description of a concept usually does not. The details decide the outcome here. Treat this as orientation and take advice from a registered patent attorney or agent about your own case.
In sequence: get the concept clear enough to describe to someone else. Document it. Research whether anyone wants it and whether it already exists. Design it. Prototype it and test it with strangers. Consider protection. Find a manufacturer. Then either license it or take it to market yourself. The order matters more than the speed, because spending at the wrong stage is what stops most projects.
Selling a bare idea is very hard. A company looking at it is being asked to take on all the development risk with no way to assess it. What companies license is a developed, protected and ideally proven product. The practical route is to move the idea far enough along that there is something concrete to value. That is what the eight steps above describe.
Do the free stages properly first. Document your concept. Research whether the product already exists and whether anyone wants it. Build a rough prototype from what you have. All of that costs time rather than capital, and it either de-risks the idea or saves you the rest of the spend. Approach paid stages in order of what they tell you. Be wary of services that want money to promote an idea rather than to develop it.
Different sources count the stages differently. That is why you will see five, seven and eight step versions of the same sequence. The substance is the same: concept, documentation, research, design, prototype, protection, manufacturing and selling. What matters is not the number. It is doing the research before the spending and the testing before the tooling.
A retailer needs things a prototype does not have: a barcode, retail-ready packaging, a case pack, a wholesale price that works after their terms, a lead time you can hold, insurance, and ideally evidence the product sells. Several of those are cheap to design in early and costly to retrofit after tooling. So decide at the design stage whether retail is the destination.